Аварийные огни + мигалка для автомобиля на Arduino и WS2812
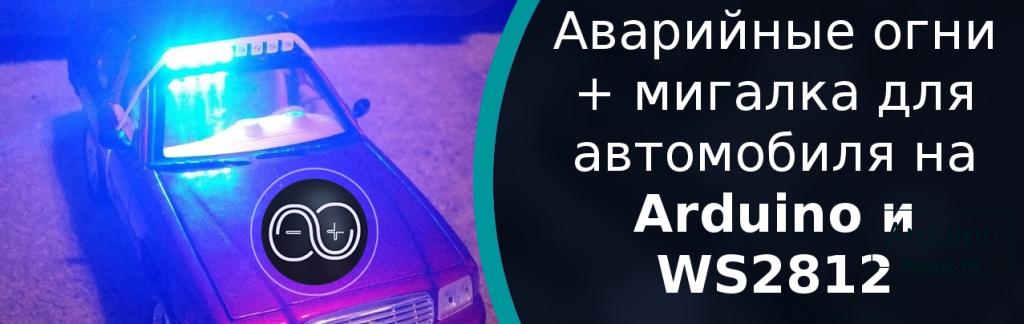
Как вы наверное помните я деле машинку: СамодельнаяWifi машинка на NodeMCU. Машина делает дрифт. Мигалку делал на обычных светодиодах. Помещал их встарый корпус и получалась достаточно неплохая мигалка. Установленная на крышу машины. Так называемая крышная установка. На подобии наружной рекламы. Но как сделать мигалку и аварийные огни? В этом нам помогут светодиоды WS2812.
Как спаять последовательно светодиоды я думаю у вас не возникнет сложностей. Если возникнут посмотрите на сайте в проектах на Ардуино, там большое количество светильников на адресных светодиодах WS2812 . Тк же есть схемы подключение и краткое описание данных светодиодов.
Подключать будем к Arduino UNO, можно подключить и к другим моделям, например Arduino NANO подключение ни чем не будет отличаться.
Вход « DIN» на светодиодном модуле подключаем к PIN 6 на Arduino.
Для написания кода будем использовать библиотеку Adafruit NeoPixel. В которой есть пример «standtest». Который будет основой для кода. Также я бы порекомендовал вам посмотреть данный пример. Что он делает и как работает, это поможет вам понять код ниже.
Для примера будем подключать 8 светодиодов.
Режимы работы :
ArrowLeft и ArrowRight - Включение левой и правой секции светодиодов (по 4 шт.).
WigWag — Плавное включение всех светодиодов (8 шт.) Слева на права и наоброт.
WigWag2 — Предыдущий режим только с разными цветами
BlinkOuter - мигают два внешних светодиода
OnOuter - включает два внешних светодиода
ClearLights - отключает все светодиоды
#include
#ifdef __AVR__
#include
#endif
#define PIN 6

// All of this stuff below is from the example
// Parameter 1 = number of pixels in strip
// Parameter 2 = Arduino pin number (most are valid)
// Parameter 3 = pixel type flags, add together as needed:
//   NEO_KHZ800  800 KHz bitstream (most NeoPixel products w/WS2812 LEDs)
//   NEO_KHZ400  400 KHz (classic 'v1' (not v2) FLORA pixels, WS2811 drivers)
//   NEO_GRB     Pixels are wired for GRB bitstream (most NeoPixel products)
//   NEO_RGB     Pixels are wired for RGB bitstream (v1 FLORA pixels, not v2)
Adafruit_NeoPixel strip = Adafruit_NeoPixel(8, PIN, NEO_GRB + NEO_KHZ800);

//NOTE: I tested this code with an 8 LED module, but you should be able to daisy chain multiple modules
//NOTE: Try changing the "8" to "4" to see how it reacts.

// This warning is from the example, probably worth considering
// IMPORTANT: To reduce NeoPixel burnout risk, add 1000 uF capacitor across
// pixel power leads, add 300 - 500 Ohm resistor on first pixel's data input
// and minimize distance between Arduino and first pixel.  Avoid connecting
// on a live circuit...if you must, connect GND first.

void setup() {
  // This stuff is from the example, I commented it out since I am not using a Trinket
  // This is for Trinket 5V 16MHz, you can remove these three lines if you are not using a Trinket
  //#if defined (__AVR_ATtiny85__)
  // if (F_CPU == 16000000) clock_prescale_set(clock_div_1);
  //#endif
  // End of trinket special code
  strip.begin();
  strip.show();
}

void loop() {
  /*
   * For strip.Color(R, G, B), use 0-255 to set intensity
   * for each color (R)ed, (G)reen, (B)lue
   *
   * The last number is a delay 0-255 range.
   */

  // These are left/right signals
  ArrowLeft(strip.Color(0, 0, 255), 100); // Blue
  ArrowRight(strip.Color(255, 0, 0), 200); //Red

  // These are side to side or wig/wag
  WigWag(strip.Color(255, 0, 0), 200); // Red
  WigWag(strip.Color(0, 0, 255), 63); // Blue faster
  WigWag(strip.Color(0, 0, 255), 127); // Blue medium
  WigWag(strip.Color(0, 0, 255), 255); // Blue slowest
  WigWag(strip.Color(0, 255, 0), 200); // Green
  WigWag(strip.Color(255, 255, 0), 200); // Yellow
  ClearLights();
  delay(1000);
  // This is a 2 color wigwag
  WigWag2(strip.Color(0, 0, 255), strip.Color(255, 0, 0), 200); // Blue and Red
  ClearLights();
  delay(1000);

  // Blinks the outer most lights
  BlinkOuter(strip.Color(0, 0, 255), 200); //Blue
  BlinkOuter(strip.Color(0, 0, 255), 50); //Blue faster
  BlinkOuter(strip.Color(255, 255, 0), 200); //Yellow
  ClearLights();
  delay(1000);

  // Turns the outer most lights on
  OnOuter(strip.Color(63, 0, 0)); // Red 25%
  OnOuter(strip.Color(127, 0, 0)); // Red 50%
  OnOuter(strip.Color(191, 0, 0)); // Red 75%
  OnOuter(strip.Color(255, 0, 0)); // Red 100%
  ClearLights();
  delay(1000);
  OnOuter(strip.Color(0, 0, 255)); // Blue
  OnOuter(strip.Color(0, 255, 0)); // Green
  // Turns off all lights
  ClearLights();
  delay(5000);
}

void ArrowRight(uint32_t c, uint8_t wait) {
  for (int j = 0; j < 4; j++) { // The j<# determines how many cycles
    for (uint16_t i = 0; i < strip.numPixels(); i++) {
      strip.setPixelColor(i, c);
      strip.show();
      delay(wait);
    }
    for (uint16_t i = 0; i < strip.numPixels(); i++) {
      strip.setPixelColor(i, 0);
    }
    strip.show();
    delay(wait);
  }
}

void ArrowLeft(uint32_t c, uint8_t wait) {
  for (int j = 0; j < 4; j++) { // The j<# determines how many cycles
    for (uint16_t i = strip.numPixels(); i + 1 > 0 ; i--) {
      strip.setPixelColor(i, c);
      strip.show();
      delay(wait);
    }
    for (uint16_t i = strip.numPixels(); i + 1 > 0 ; i--) {
      strip.setPixelColor(i, 0);
    }
    strip.show();
    delay(wait);
  }
}

void WigWag(uint32_t c, uint8_t wait) {
  for (int j = 0; j < 10; j++) { // The j<# determines how many cycles
    for (int i = 0; i < strip.numPixels(); i = i + 1) {
      strip.setPixelColor(i, c);
    }
    for (int i = (strip.numPixels() / 2); i < strip.numPixels(); i = i + 1) {
      strip.setPixelColor(i, 0);
    }
    strip.show();
    delay(wait);

    for (int i = 0; i < strip.numPixels(); i = i + 1) {
      strip.setPixelColor(i, 0);
    }
    for (int i = (strip.numPixels() / 2); i < strip.numPixels(); i = i + 1) {
      strip.setPixelColor(i, c);
    }
    strip.show();
    delay(wait);
  }
}


void WigWag2(uint32_t c, uint32_t c2, uint8_t wait) {
  for (int j = 0; j < 20; j++) { // The j<# determines how many cycles
    for (int i = 0; i < strip.numPixels(); i = i + 1) {
      strip.setPixelColor(i, c);
    }
    for (int i = (strip.numPixels() / 2); i < strip.numPixels(); i = i + 1) {
      strip.setPixelColor(i, 0);
    }
    strip.show();
    delay(wait);

    for (int i = 0; i < strip.numPixels(); i = i + 1) {
      strip.setPixelColor(i, 0);
    }
    for (int i = (strip.numPixels() / 2); i < strip.numPixels(); i = i + 1) {
      strip.setPixelColor(i, c2);
    }
    strip.show();
    delay(wait);
  }
}

void ClearLights() {
  for (int i = 0; i < strip.numPixels(); i = i + 1) {
    strip.setPixelColor(i, 0);    //turn every pixel off
  }
  strip.show();
}

void BlinkOuter(uint32_t c, uint8_t wait) {
  for (int j = 0; j < 10; j++) { // The j<# determines how many cycles
    strip.setPixelColor(strip.numPixels() - 1, c);
    strip.setPixelColor(0, c);
    strip.show();
    delay(wait);
    strip.setPixelColor(strip.numPixels() - 1, 0);
    strip.setPixelColor(0, 0);
    strip.show();
    delay(wait);
  }
}

void OnOuter(uint32_t c) {
  strip.setPixelColor(strip.numPixels() - 1, c);
  strip.setPixelColor(0, c);
  strip.show();
  delay(3000);
}
Код
не является оригинальным и имеет ряд
недочетов. Он является демонстрационным
и для того чтобы у вас была отправная
точка для разработки вашей модели.
Подписывайтесь на мой канал на Youtube и вступайте в группы в Вконтакте и Facebook.
Спасибо за внимание!
Понравилась статья? Поделитесь ею с друзьями:
Вернуться в раздел: Интересные Arduino проекты Дата публикации 8 августа , 2018
Читайте также

#9 Гость: Вадим Кайбелев (26 февраля, 2019 в 09:31)
По настоящему интересная задумка! Обязательно установлю на свою машину аварийные огни! Автору респект!
#8 Гость: Артур Нахалов (26 февраля, 2019 в 09:30)
Интересная задумка! Надо будет попробовать собрать...
#7 Гость: Павел Павлов (26 февраля, 2019 в 09:30)
Действительно интересный способ использования светодиодов. Стоит самому попробовать. По случаю дома много скопилось. Я только что еще унитаз не осветил. Но в перспективе есть такая задумка.
#6 Гость: Валера Бойко (26 февраля, 2019 в 09:29)
Спасибо автору за статью.Попробую сделать такое на своей машине.
#5 Гость: Ольга Квашнина (26 февраля, 2019 в 09:29)
Идея просто оригинальная. Спасибо огромное за такую подробную информацию.
#4 Гость: Артур Нахалов (26 февраля, 2019 в 09:28)
Мне понравилась Ваша идея изготовить самостоятельно часы на светодиодах. Хочу попробовать, спасибо за советы.
#3 Гость: Артур Нахалов (26 февраля, 2019 в 09:28)
информация очень пригодилась, авторам спасибо
#2 Гость: Arturo Pereira (26 февраля, 2019 в 09:27)
Спасибо за хорошую информацию.
#1 Гость: Зинаида Пугач (26 февраля, 2019 в 09:27)
Я тоже люблю собирать всякую всячину. Воспользовалась вашими советами, и действительно получилась, чудесная машинка с мигалкой. Делала ее в начале для сына, но когда все получилось; сыну давать жалко, ему всего 5 лет. Он ее поломает. Я ее в шкаф поставила. Спасибо за классные и подробные инструкции.
Cлучайные товары
Ramps 1.4 + Arduino Mega + A4988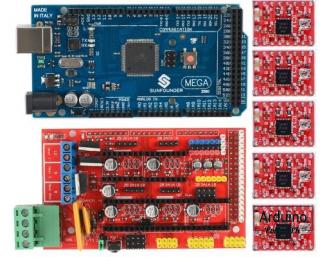
Ходовой винт с гайкой 8 мм
Мы в соц сетях
Комментарии
Войдите или Зарегистрируйтесь И Вы сможете общаться на форуме и оставлять комментарии без капчи.