Меняем Arduino на Digispark в светильнике на ws2812. digispark проекты.
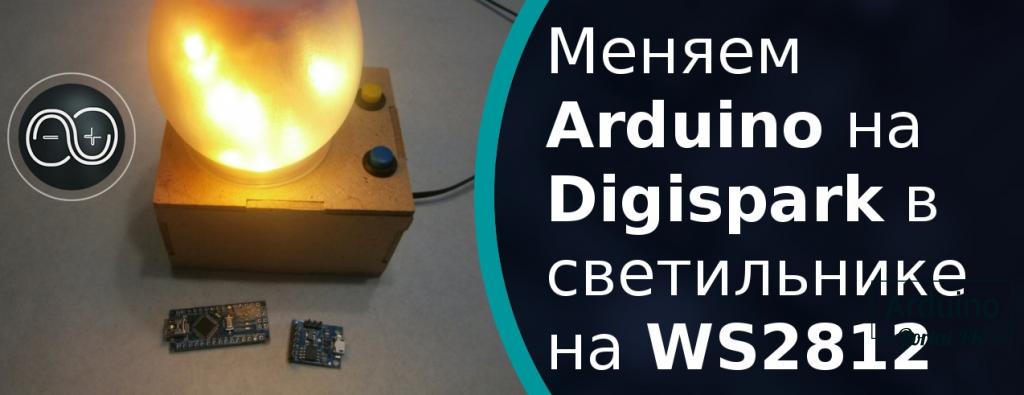
В интернете много проектов на Digispark, но светильника на адресных светодиодах с переключением режимов и регулированием яркости, на подобии моего светильника который я делал на Arduino, нет. Поэтому я решил переделать свой ночник на светодиодах ws2812 под управлением Arduino NANO.
Взял пример кода который устанавливаться с библиотекой Adafruit_NeoPixel проекта на Digispark .
#include <Adafruit_NeoPixel.h>
#define BUTTON_PIN   2    // Digital IO pin connected to the button.  This will be
                          // driven with a pull-up resistor so the switch should
                          // pull the pin to ground momentarily.  On a high -> low
                          // transition the button press logic will execute.
#define PIXEL_PIN    6    // Digital IO pin connected to the NeoPixels.
#define PIXEL_COUNT 16
// Parameter 1 = number of pixels in strip,  neopixel stick has 8
// Parameter 2 = pin number (most are valid)
// Parameter 3 = pixel type flags, add together as needed:
//   NEO_RGB     Pixels are wired for RGB bitstream
//   NEO_GRB     Pixels are wired for GRB bitstream, correct for neopixel stick
//   NEO_KHZ400  400 KHz bitstream (e.g. FLORA pixels)
//   NEO_KHZ800  800 KHz bitstream (e.g. High Density LED strip), correct for neopixel stick
Adafruit_NeoPixel strip = Adafruit_NeoPixel(PIXEL_COUNT, PIXEL_PIN, NEO_GRB + NEO_KHZ800);
bool oldState = HIGH;
int showType = 0;
void setup() {
  pinMode(BUTTON_PIN, INPUT_PULLUP);
  strip.begin();
  strip.show(); // Initialize all pixels to 'off'
}
void loop() {
  // Get current button state.
  bool newState = digitalRead(BUTTON_PIN);
  // Check if state changed from high to low (button press).
  if (newState == LOW && oldState == HIGH) {
    // Short delay to debounce button.
    delay(20);
    // Check if button is still low after debounce.
    newState = digitalRead(BUTTON_PIN);
    if (newState == LOW) {
      showType++;
      if (showType > 9)
        showType=0;
      startShow(showType);
    }
  }
  // Set the last button state to the old state.
  oldState = newState;
}
void startShow(int i) {
  switch(i){
    case 0: colorWipe(strip.Color(0, 0, 0), 50);    // Black/off
            break;
    case 1: colorWipe(strip.Color(255, 0, 0), 50);  // Red
            break;
    case 2: colorWipe(strip.Color(0, 255, 0), 50);  // Green
            break;
    case 3: colorWipe(strip.Color(0, 0, 255), 50);  // Blue
            break;
    case 4: theaterChase(strip.Color(127, 127, 127), 50); // White
            break;
    case 5: theaterChase(strip.Color(127,   0,   0), 50); // Red
            break;
    case 6: theaterChase(strip.Color(  0,   0, 127), 50); // Blue
            break;
    case 7: rainbow(20);
            break;
    case 8: rainbowCycle(20);
            break;
    case 9: theaterChaseRainbow(50);
            break;
  }
}
// Fill the dots one after the other with a color
void colorWipe(uint32_t c, uint8_t wait) {
  for(uint16_t i=0; i<strip.numPixels(); i++) {
      strip.setPixelColor(i, c);
      strip.show();
      delay(wait);
  }
}
void rainbow(uint8_t wait) {
  uint16_t i, j;
  for(j=0; j<256; j++) {
    for(i=0; i<strip.numPixels(); i++) {
      strip.setPixelColor(i, Wheel((i+j) & 255));
    }
    strip.show();
    delay(wait);
  }
}
// Slightly different, this makes the rainbow equally distributed throughout
void rainbowCycle(uint8_t wait) {
  uint16_t i, j;
  for(j=0; j<256*5; j++) { // 5 cycles of all colors on wheel
    for(i=0; i< strip.numPixels(); i++) {
      strip.setPixelColor(i, Wheel(((i * 256 / strip.numPixels()) + j) & 255));
    }
    strip.show();
    delay(wait);
  }
}
//Theatre-style crawling lights.
void theaterChase(uint32_t c, uint8_t wait) {
  for (int j=0; j<10; j++) {  //do 10 cycles of chasing
    for (int q=0; q < 3; q++) {
      for (int i=0; i < strip.numPixels(); i=i+3) {
        strip.setPixelColor(i+q, c);    //turn every third pixel on
      }
      strip.show();
      delay(wait);
      for (int i=0; i < strip.numPixels(); i=i+3) {
        strip.setPixelColor(i+q, 0);        //turn every third pixel off
      }
    }
  }
}
//Theatre-style crawling lights with rainbow effect
void theaterChaseRainbow(uint8_t wait) {
  for (int j=0; j < 256; j++) {     // cycle all 256 colors in the wheel
    for (int q=0; q < 3; q++) {
        for (int i=0; i < strip.numPixels(); i=i+3) {
          strip.setPixelColor(i+q, Wheel( (i+j) % 255));    //turn every third pixel on
        }
        strip.show();
        delay(wait);
        for (int i=0; i < strip.numPixels(); i=i+3) {
          strip.setPixelColor(i+q, 0);        //turn every third pixel off
        }
    }
  }
}
// Input a value 0 to 255 to get a color value.
// The colours are a transition r - g - b - back to r.
uint32_t Wheel(byte WheelPos) {
  WheelPos = 255 - WheelPos;
  if(WheelPos < 85) {
   return strip.Color(255 - WheelPos * 3, 0, WheelPos * 3);
  } else if(WheelPos < 170) {
    WheelPos -= 85;
   return strip.Color(0, WheelPos * 3, 255 - WheelPos * 3);
  } else {
   WheelPos -= 170;
   return strip.Color(WheelPos * 3, 255 - WheelPos * 3, 0);
  }
}
Данный код хорошо работает на Arduino Но вот Digispark отказывается переключать режимы и происходит так называемое залипание. Но я не привык сдаваться и после не долгового анализа я понял в чем дела. Переписал код.
 // Код будет доступен когда к видео на канале будет больше 100 лайков. Это связанно с тем, что я потратил достаточно много времени на
// поиск проблемы и изменение кода.
Схема подключения светодиодов ws2812 к Digispark выгладит вот так.
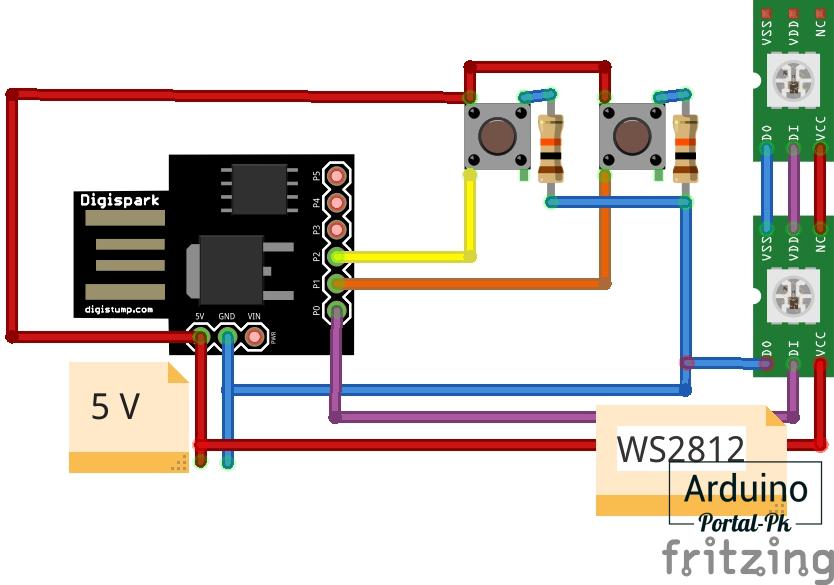
К кнопкам подключил подтягивающие резисторы.
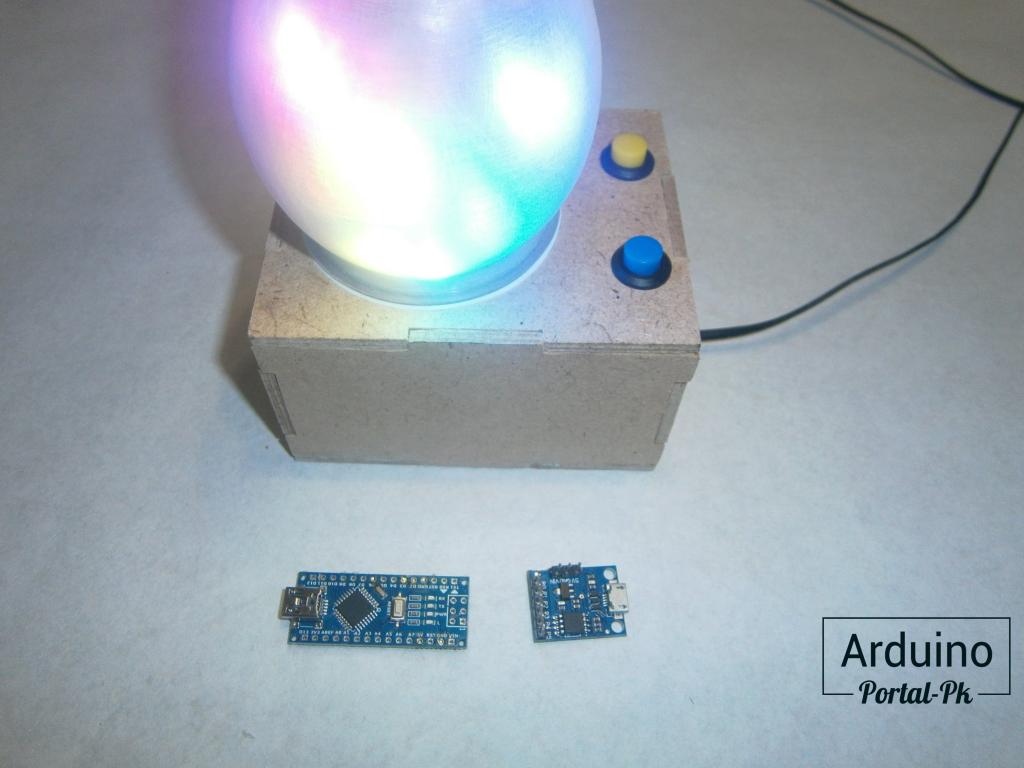
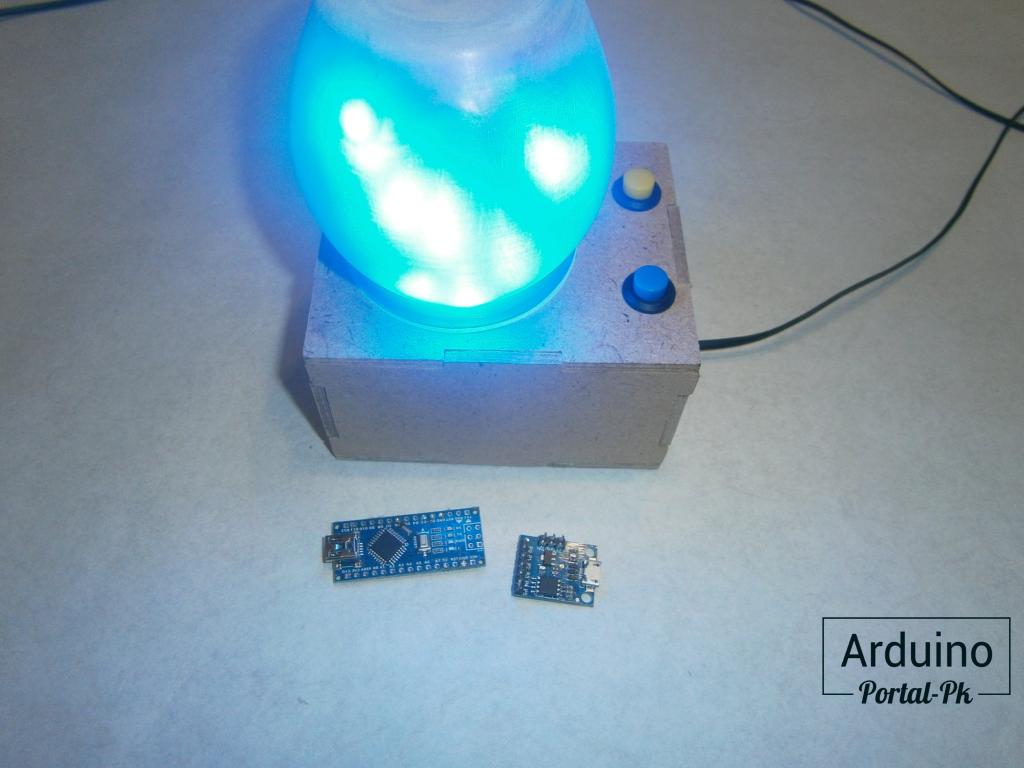
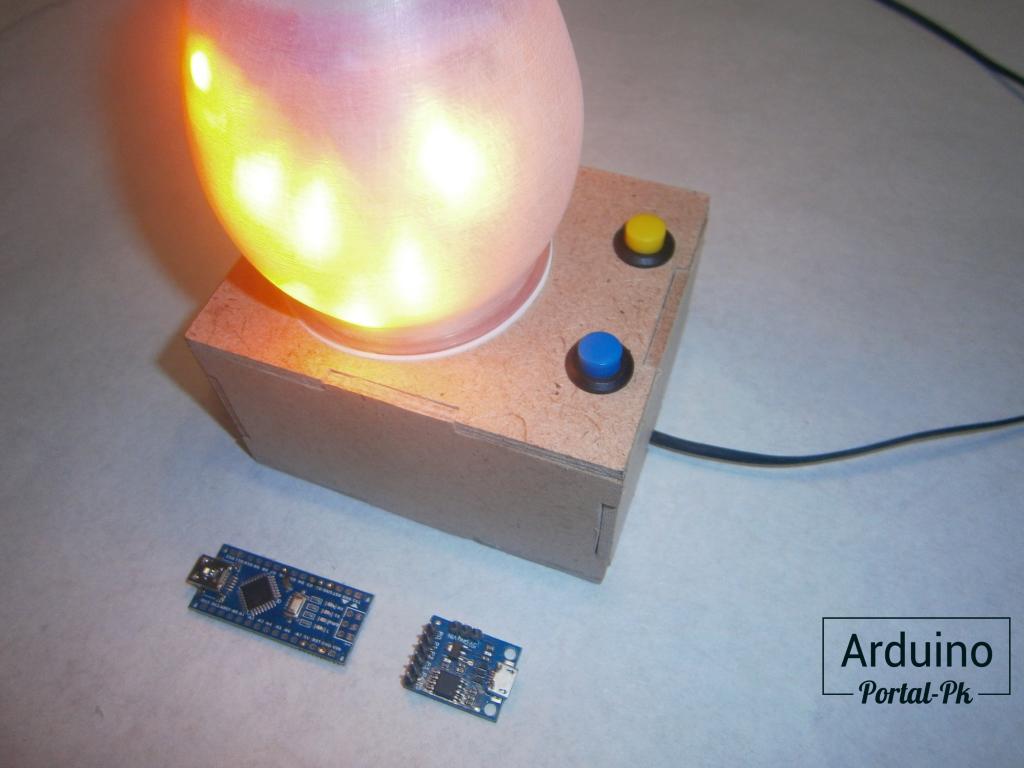
Фото моего светильника на Digispark и светодиодах ws2812 .
Есть идеи
сделать
Wi-fi светильник, но посмотрим
как будет время и желание.
Ваша активность
на прямую влияет на мое желание. Не
забывайте про это!
Подписывайтесь на мой канал на Youtube и вступайте в группы в Вконтакте и Facebook.
Спасибо за внимание!
Понравилась статья? Поделитесь ею с друзьями:
Файлы для скачивания
| Прошивка для DigiSpark Code.ino | 5 Kb | 735 | Скачать |
Вернуться в раздел: Проекты на Arduino Дата публикации 15 февраля , 2018
Читайте также

#2 Гость: MaxDitz (18 января, 2020 в 15:17)
Похоже, в схеме соединений перепутаны выводы кнопки, куда подключены провода от пинов. И в коде прошивка выдает ошибки при компиляции. Надо разбираться...

#1 Гость: Niki (27 марта, 2019 в 14:02)
Без подставки будет выглядит как обычная лампочка. Прикольно наверное будет выглядит если еще ее подвесить.


Комментарии
Войдите или Зарегистрируйтесь И Вы сможете общаться на форуме и оставлять комментарии без капчи.